
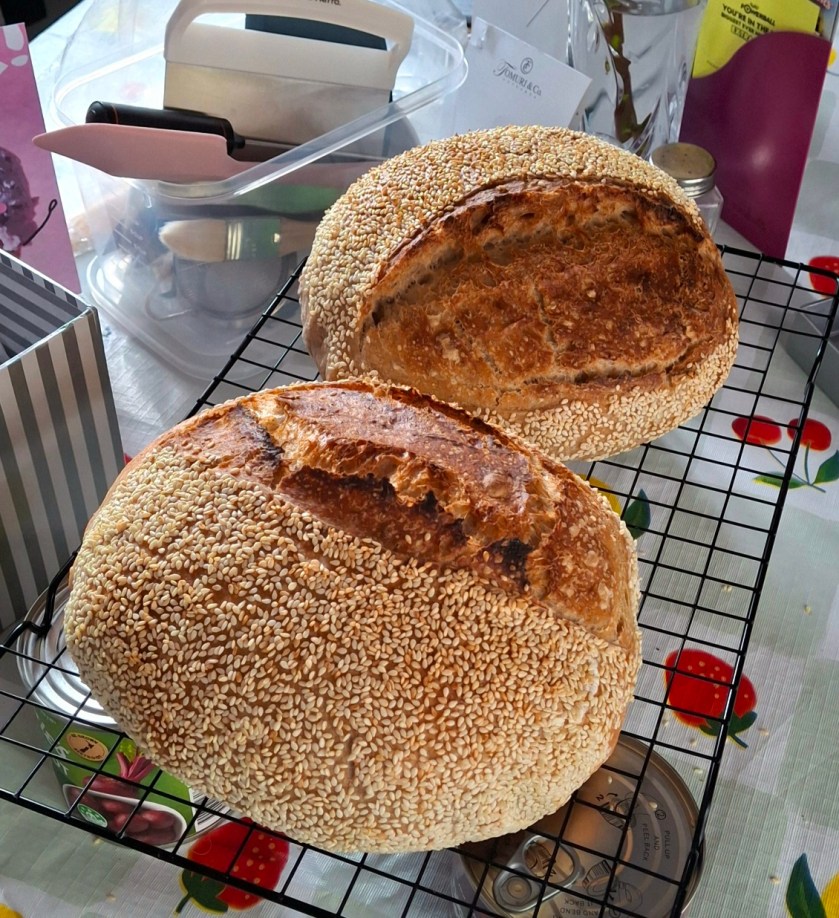
I’ve been working on a simple, no-fuss sourdough method that fits easily into everyday life, and this one has been a reliable, consistent loaf.
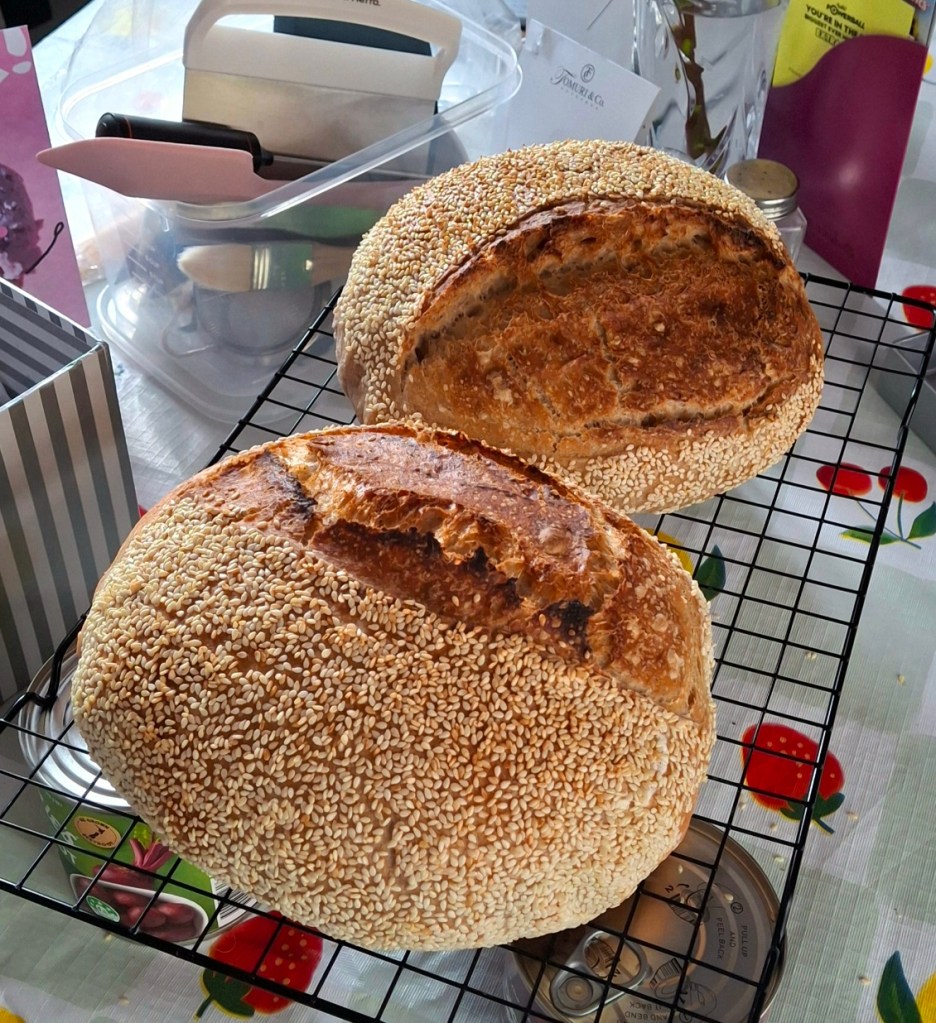
This version uses a mix of wholemeal and high-grade flour. Today I used 150g (about 33%) wholemeal, with the rest high-grade. It gave a nice balance of flavour without being too heavy, and I think I’ll gradually increase it to around 50% as I become more confident.
I also use the scrapings starter method, which means no regular feeding, no discard, and very little waste. It keeps things simple and suits my routine well.
I like white sourdough, but I prefer a bit more substance, and wholemeal makes it more satisfying. This mix works well for now, and I’m hoping to slowly increase the wholemeal and eventually try a rye loaf once I’m more confident.
If you want to add sesame seeds, I highly recommend it for extra flavour. Lightly spritz the dough with water just before scoring, then place the top side down onto a plate of sesame seeds so they stick before baking. Then score and bake in the usual way.
Starter – Simple Scrapings Method
I use a rye starter. It’s strong, dependable, and handles a bit of neglect without any trouble.
Instead of feeding regularly, I:
- Keep a small amount (scrapings) in a jar in the fridge
- Feed it only when I need it
- Leave it out the night before
- Take what I need
- Put the jar with the remaining scrapings straight back in the fridge
No daily feeding and no discard.
Day 1
Step 1: Feed Starter (Night Before)
- Take starter from fridge
- Add:
- 50g room temperature water
- 50g rye flour
- Mix into a paste
- Scrape down sides
- Mark the level on the jar
- Cover and leave overnight at room temperature
Day 2
Step 2: Make the Dough
By morning, the starter should be bubbly and risen.
- Add to bowl:
- 100g starter
- 325ml warm water (around 22°C), whisk together
- Add:
- 225g high grade flour
- 225g wholemeal flour
- 8g salt
- Mix into a rough dough, cutting and folding using the scraper
- Lightly spritz with water
- Cover and rest 1 hour
Step 3: Stretch and Folds
Always keep the dough seam side down when resting. When turning it out of the bowl for stretch and folds, turn it seam side up and only fold into the seam side.
First Fold
- Lightly wet hands, dough, and bench
- Stretch and fold 12–16 times
- Shape into a ball
- Cover and rest 1 hour
Second Fold
- Repeat
- Stretch and fold about 6-8 times
- Rest 1 hour
Third Fold
- Repeat
- Press gently
- Stretch and fold about 6-8 times
- Rest 1 hour
Step 4: Pre-Shape
- Lightly flour bench
- Turn dough out (upside down)
- Fold edges in (about 6 folds)
- Shape into a ball
- Cup gently to tighten
- Dust top with flour
- Cover and rest on bench 1 hour
Step 5: Final Shape
- Turn dough upside down
- Gently stretch and fold 4–5 times
- Shape into a tight ball
- Place into a floured bowl (seam side up)
- Dust top with flour
- Place in fridge overnight
- Leave uncovered
Day 3
Step 6: Bake (Dutch Oven Method)
- Preheat oven and Dutch oven to 220°C for 40 minutes
- Turn dough onto baking paper
- Brush off excess flour
- Score the top
- Carefully place into hot Dutch oven
- Spritz with water
- Bake:
- 20 minutes with lid on
- 20 minutes with lid off
- Remove and cool on a rack
Hydration Note
- Standard: 320ml water
- If using 100% wholemeal flour, add about 20ml extra water
- Note to self: use scalding method for rye loaf
My Notes
This loaf turned out really well. The dough handled nicely and wasn’t overly sticky, which has been an issue when using rye blends.
The crumb was soft with good structure, and the flavour had a gentle wholemeal depth without being heavy.
Using 150g wholemeal felt like a good balance — enough character, but still light and easy to work with compared to a fully wholemeal loaf.
Always keep the dough seam side down when resting. When turning it out for stretch and folds, flip it so the seam is on top, then fold only on the seam side.
Basker’s Opinion
He liked the flavour and said it had a nice balance, not too dense. He enjoyed it slightly warm with butter. The next day, he said it toasted well and still had a soft centre.
🙏 Recipe Credit
Thank you to: Bake with Jack
Discover more from Life With Janet
Subscribe to get the latest posts sent to your email.


